Filming with a Camcorder
Background
In 1958 I bought an Agfa Gaevart 8mm cine camera. This was a clockwork driven, single lens, variable focus camera with the drive housed in the handle. Winding the motor was achieved by twisting the handle.
I used the camera primarily for recording the growth of my children and for family holidays up until 1975. The camera was a joy to use, being very well designed, and I still have it in a cupboard. At that time I did very little editing other than splicing films together.
My interest in the moving image then waned for a time until about 1994 when for our Ruby wedding anniversary, my wife and I decided to take a Caribbean cruise. I had seen the results from a friends SVHS-C video camera and had been impressed by the image quality and by the convenience compared with film, in addition the sound quality was excellent - my 8mm films were, of course, silent..
I bought a Panasonic NVS85-B.
This proved to be an excellent choice and the results were very satisfying. This encouraged me to consider doing some serious editing. I researched the market in editing equipment and bought a Vivanco VCR 5055. This was a well made, well specified, piece of equipment but after a considerable number of problems and letters exchanged with Vivanco it seemed that the time code generated by the camcorder was not compatible with the editor. I did manage to produce several edited films successfully, including a wedding, but with many repeats of the process in order to achieve acceptable results. After much consideration I decided to switch to Hi8 and changed the camcorder for a Sony TRV 2000.
This camcorder produced equally good results and also worked well with the editor. A little later I added a Vivanco processor.
After a time I became dissatisfied with the limited capabilities of my linear editing equipment and investigated the emerging non-linear systems that were computer based. In 1996 I bought a Miro DC20 video card and a 2GB hard drive. The Miro included a copy of the LE version of Adobe Premiere. My PC at that time was a Pentium I 133Mhz and video editing stretched it to its limits. However, the flexibility of this system compared with linear editing was a joy and justified the many teething troubles I experienced.
I used this system successfully, enhanced only by a larger HD (12Gb) and a processor upgrade (PII 450Mhz), until April 2000. By then digital video cameras had become well established and I could resist the improvement in quality no longer. I decided that as I had many Hi8 tapes, Sony's Digital 8 system was the best buy for me, as these camcorders also play and convert Hi8 tapes to digital so that tapes I had waiting to be edited could still be processed.
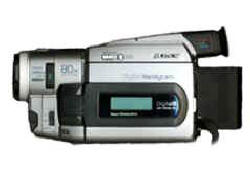
I bought a Sony TRV510E. (Pictured above)
I also needed a firewire card for the PC so that I could input the digital signal. The card that had received rave reviews since its introduction was the Canopus DV Raptor. I bought one of these and also upgraded my hard drives again and now had a 20Gb, 30Gb and a 60Gb. These were all EIDE UDMA 66 drives and handled the input of digital video with capacity to spare.
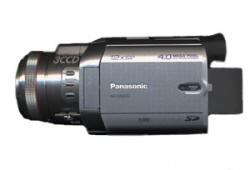
In 2007 I upgraded my hardware yet again so that I could use the firewire input on the motherboard. I also increased Hard Drive space to 500Gb (SATA II) and added two DVD recorders to the system and transferred videos to this medium. I switched from Premiere Pro to Premiere Elements for editing, a really superb program. In 2005 I had bought a Panasonic NV GS400 DV camcorder (pictured above) which improved the quality of results yet again, I still have the Sony so as to allow editing of older tapes.
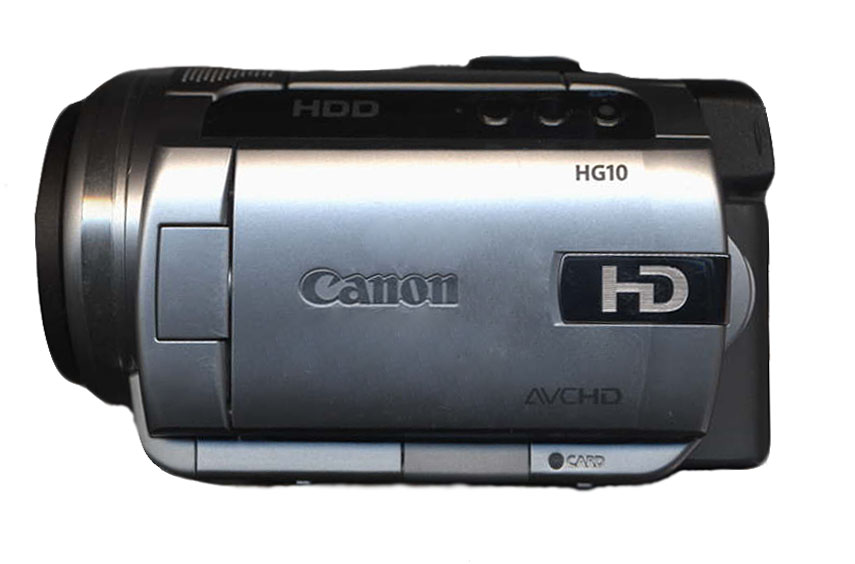
In 2008 in anticipation of a holiday in New Zealand I bought a Canon HG10 High Definition camcorder. This camera uses a 40Gb hard drive and uses the AVCHD codec to compress the footage. In theory the hard drive can hold more than 5 hours of filming but in practise I found the scene limit of 999 prevented this for me. Fortunately on my trip to NZ I took a laptop computer and was able to transfer footage to that when I reached the 999 limit. The quality of the output from this camcorder is very impressive and it comes from such a small and lightweight unit. Although at my current age light weight is an advantage I do find it more difficult to hold these tiny cameras steady, so a tripod becomes more necessary. However I didn't feel enthusiastic about carrying a tripod to NZ so tried a Manfrotto 560B monopod instead. This monopod has three short "feet" and a liquid panning head, actually more a panning foot, and proved to be a very good compromise.
When I came to edit this HD footage I realised that Adobe Elements didn't support the AVCHD codec so I switched to Sony Vegas Movie Studio Platinum 8.0, which does. I was reluctant to change as editing programs are quite complex and I was used to Adobe. However I have grown to appreciate the quality of Vegas and now prefer it. Initially I was only able to record these HD videos to DVD but am now (Oct 2008), after investing in an LG Blu-Ray writer, trying to produce Blu-Ray discs. In order to do this I had to upgrade Vegas to Movie Studio Platinum 9.0. So far I have had only limited success. As usual hardware becomes available with new facilities well before (reasonably priced) software is produced to handle those capabilities adequately. In 2015 I am now up to Vegas Movie Studio Platinum 13, though currently making little use of it.
My filming still consists mainly of travelogues, produced whilst on holiday, and family records/occasions but I am confident that the standard of my films is now of a very high quality.

Sony DCR-TRV510E

Panasonic NV GS400

Canon HG10
(High Definition)
Technique
Many (perhaps most) amateur videographers are guilty of hose-piping; i.e.. scanning from side to side, and up and down whilst filming; and of zooming in and out during filming. This makes their films nauseating to watch. I am adding a page of tips to this section of my site which if followed will enable all videographers to produce watchable films.
Basically the secret is to use a camcorder as if it was a still camera - point at a subject and, keeping still whilst filming, shoot for a few seconds then stop. Move to another viewpoint or subject and repeat the process. Panning should be avoided unless there is a very good reason to do so e.g. to capture the expanse of a landscape or to follow a moving subject. Zooming while filming should also be avoided. It is best to zoom (i.e. change focal length) between shots. Also do not use digital zoom as the image quality degrades rapidly with this feature. With optical zooms of around 20 or more there really is no need for digital enhancement. It is also very difficult to obtain a steady hand-held shot when zoomed in by a factor of 5 let alone 20. If you need to zoom in by a large amount in order to obtain a particular shot then use a tripod or try to find something to rest the camcorder on during the shot, e.g. a wall, chair etc.
Happy filming!
Once you start filming DO NOT MOVE THE CAMERA unless you are following a moving subject.
Most shots should last no more than 10 seconds and no less than 3 seconds. The exception is when following a moving subject, when you can keep going as long as the interest lasts.
If you are filming someone talking, try not to stop filming whilst they are in the middle of a sentence. (Not always easy!)
Panning is best avoided. But on those few occasions when it is worth doing, practice the shot first - pivot very slowly - and stand so that you are square on to the middle of the pivot. It is best to start and end the shot with about 3 to 5 seconds stationary. I.e. At the start of the shot, film with the camcorder stationary for 3-5 seconds then start to pan and when you reach the end of the pan stay in that position for a further 3-5 seconds before you stop filming.
When filming with the camera "zoomed in" it is difficult to keep the camera steady so try to find somewhere to rest the camera - a wall, back of a chair etc. The built-in "steady" facility (if you have it) will help but generally only when zoomed in by a factor of up to 2 or 3. (It depends how practiced you are!)
A general strategy to make your films interesting is to follow the "Wide", "Close-up", "Big close-up" procedure:
i) Take a wide shot - stop filming
ii) Move to a different viewpoint. (E.g.: at right angles to the subject)
With the camera NOT running zoom in closer to the subject (e.g.. if subject is a person, so that about half of them fills the frame). Start filming ....... a few seconds ......... Stop filming.
iii) Change the viewpoint again, even if only slightly and with the camera NOT running zoom in closer still (e.g. if a person, so that only a part of the face/head fills the frame or if using their hands (e.g a potter) so that their hands fill the frame). Start filming ..... a few seconds ... stop filming
